How it Works - Right on Track
An electronic racetrack with targets and rewards.
Right on Track
Setting up Right on Track for use in the classroom couldn't be simpler
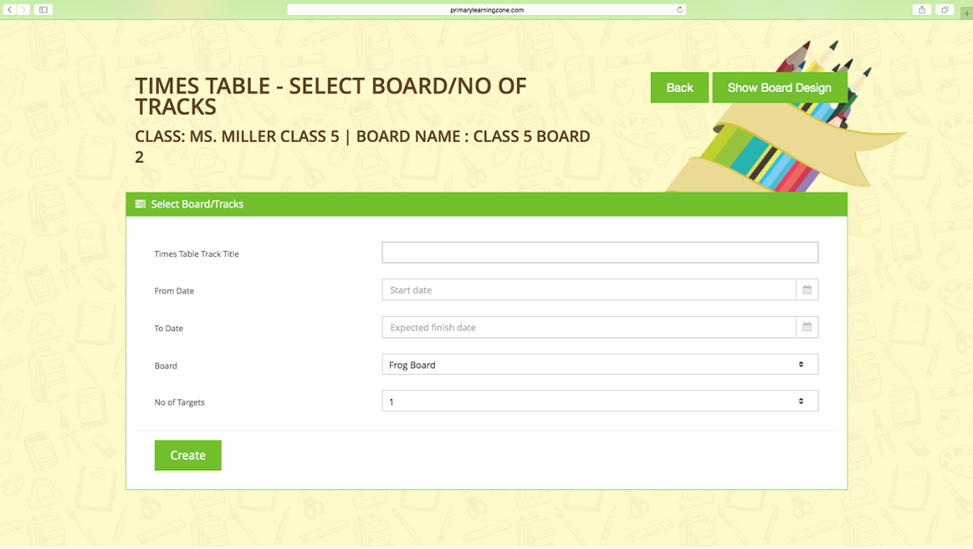
1. The set up screen
- Enter your track title e.g. Class 3 Home Reading.
- Select the dates you wish you to use the board.
- Use the board design button to browse through the 7 board designs.
- Enter your choice using the drop down arrow.
- Enter the number of targets you require to appear on the board. e.g. 5 for daily targets of 7 for weekly half term targets.
- Then click create and your board will appear.
2. Using the board
- To use the board simply click the Track Functions button (cogs image) at the top right of the screen.
- To allow all the children's icons to be dragged or moved simply click on 'Make all draggable'.
- You may wish to allow only one child at a time to be moved. If so use the 'Individual Draggables' button and select the student you require
- When you have finished using the board click 'End current session.' This will save all the track positions
- We have designed the software so a child can be designated the 'Right on Track Monitor.' However to reset all the children all back to the start (If you wish to simply use the same track again) or the end the track and create a new one a username and password must be entered. This ensures the class monitor does not end a board by clicking on one of these buttons by mistake
- To minimise the Track Functions when using the board simply click on the cross on the top right of the box.

To use children simply drag and drop their icon from one target to the next.

A yellow box appears around the target area showing the child where they can 'drop' their icon.

Times Table Setup
Setting up the Times Tables boards is EXACTLY the same process for the regular track EXCEPT:
You can add text to each target. Many teachers may wish to rest each tables in a different order or match the Bronze, Silver and Gold worksheets to the board.
To add text to a target:
1. Double Click on the target.

2. Enter your text and click on the tick.
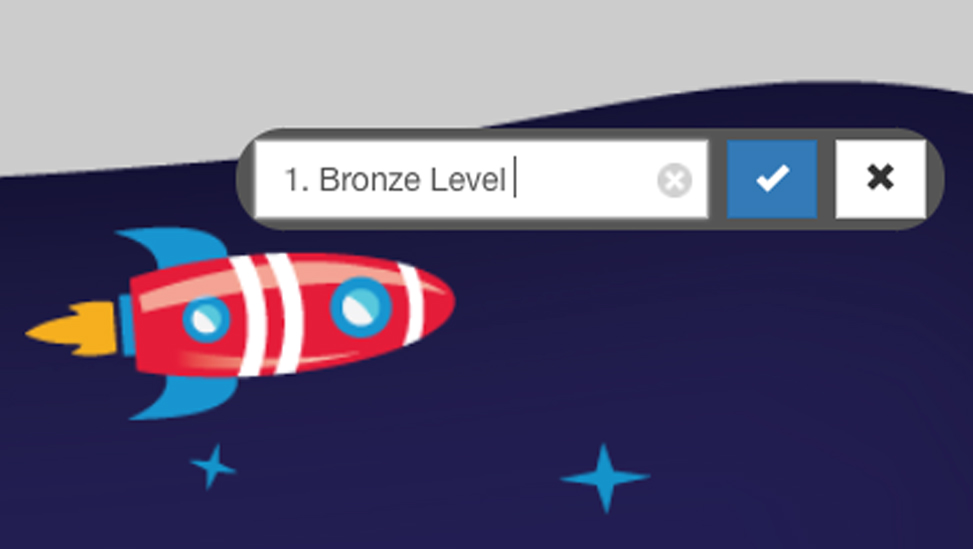
3. Your text appears on screen.

Using the features of Right on Track
To access the features of right on Track simply click on the drop down button next to 'Start Class'
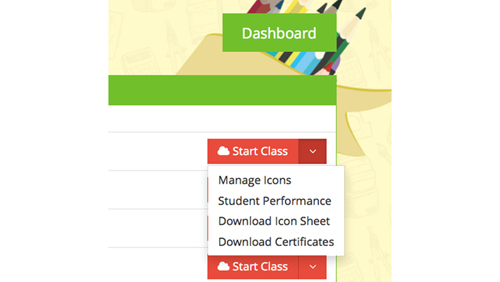
1. Manage icons
Children will love changing their icon. To change simply click the green change button and select the icon matching the board currently chosen.
2. Student Performance

Simple reports highlight in red any child who has not moved from the last session. These can be printed off to provide evidence for intervention or parent meetings.
3. Download icon sheet
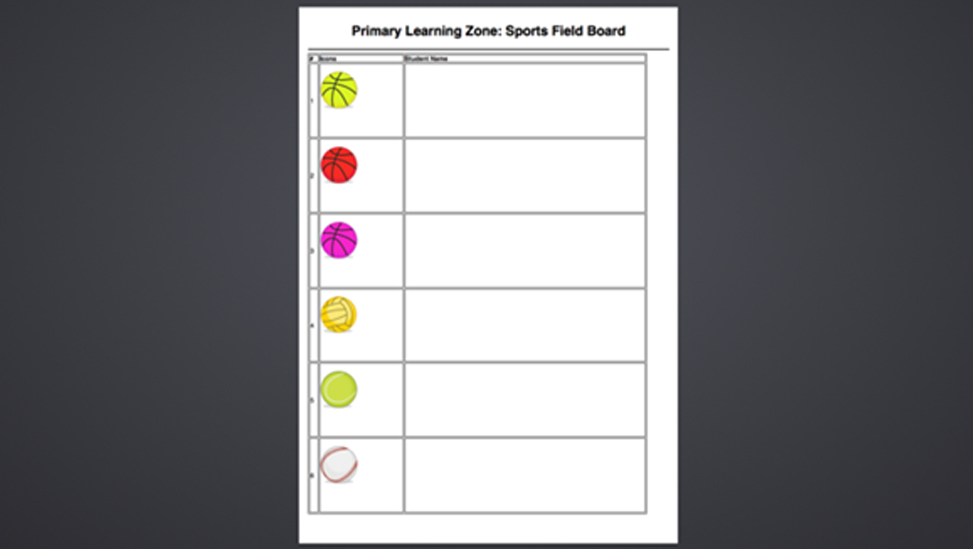
All the icons linked to each board can be printed off so children can choose at home, to assist with set up or changing icons if the teacher wants to transfer the information at a different time.
4. Download Certificates
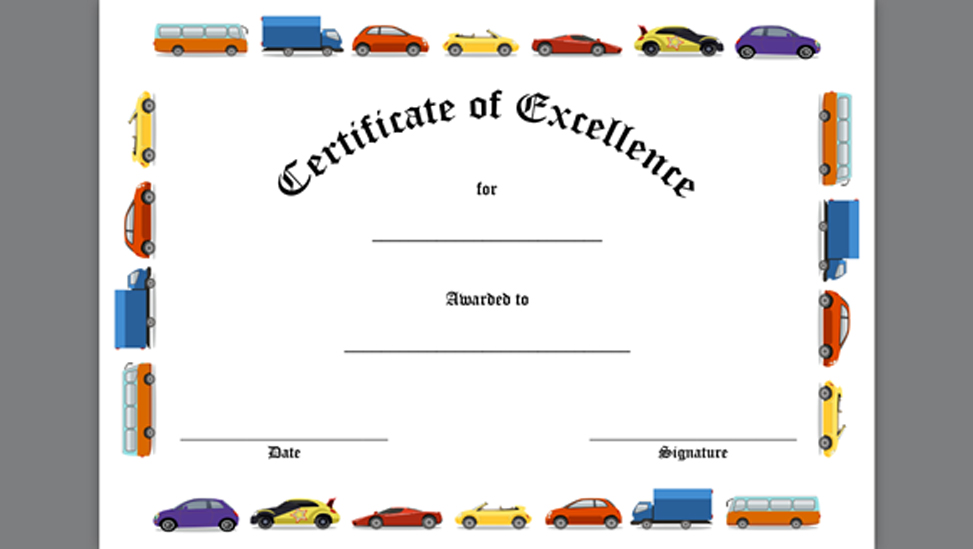
Simply download and print off the certificate to match the board being used.
Rewards and prizes
Class treasure chest

Quality prizes
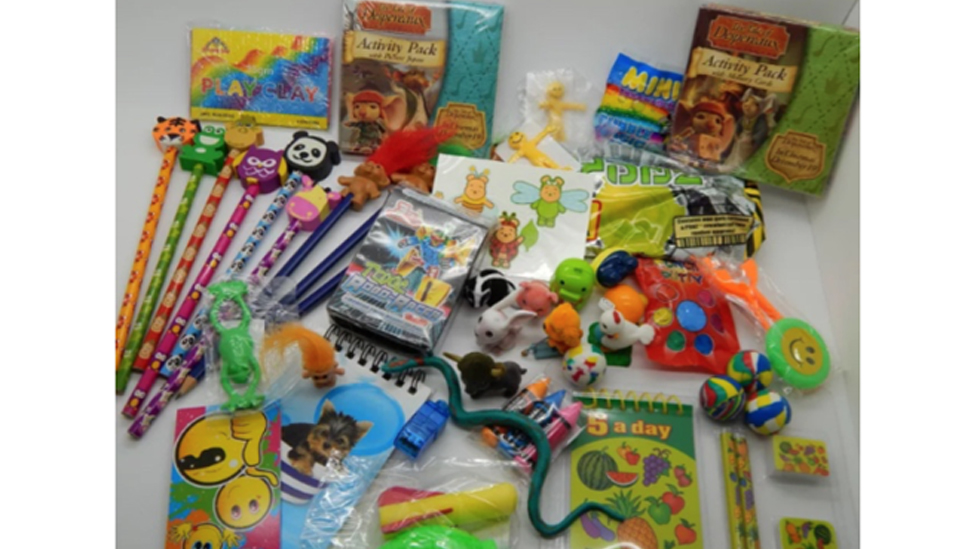
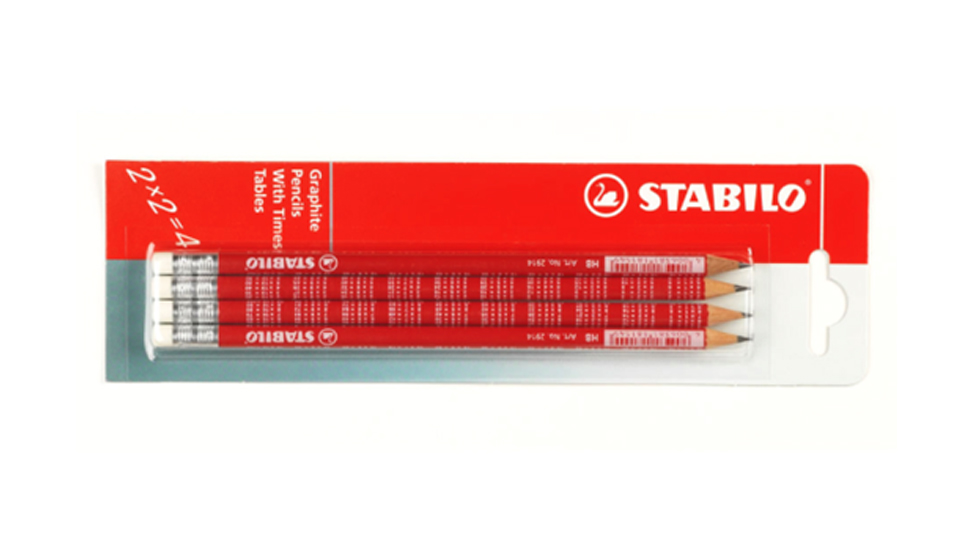
Times Tables Pencils